Todays lesson was very funny and exciting as we played about with Jelly babies! We were given the task to make a storyboard with them. Our storyboard is the plan/scenario of what we will be filming next week just to get practising making thriller films. Before we began our storyboard we had to learn three defintions so that we can use it in our storyboard...
. Match Cut- A match cut is a cut in film editing between either two different objects, two different spaces, or two different compositions in which an object in the two shots graphically match, often helping to establish a strong continuity of action and linking the two shots metaphorically. An example of of a match cut shot is if we have a shot of a girl holing ontoa balloon up in the air, and then the next shot will show the balloon flying up into the air this is called a match cut as the two scenes are linked together (or in other words some of the objects are in both cuts).

 ... As you can see these two shots are linked together and we as an audience can tell that the girl has let go of the balloon without actually seeing her do it
. Shot Reverse Shot- Shot reverse shot is where one character is shown looking at another character (often off-screen), and then the other character is shown looking back at the first character. Since the characters are shown facing in opposite directions, the viewer assumes that they are looking at each other.
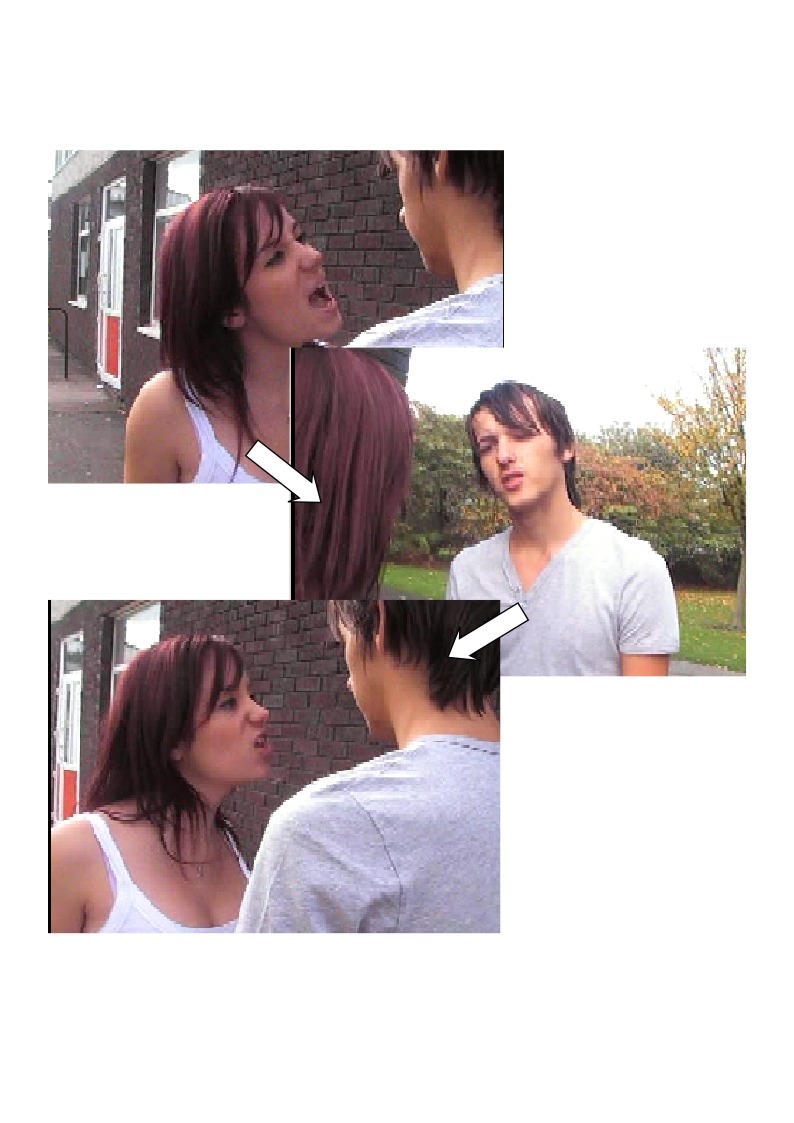 |
| As you can see this is a shot reverse shot, as we get cuts from over the shoulder and so we get the characters point of view which looks like they are looking directly at the character infront of them... |
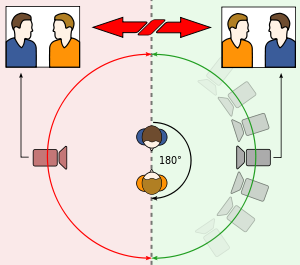
. 180° Degrees Rule- The 180° rule is a basic guideline in film making that states that two characters (or other elements) in the same scene should always have the same left/right relationship to each other. If the camera passes over the imaginary axis connecting the two subjects, it is called crossing the line, whcih our teacher warned us not to do!!!
We then began making our stroyboard by taking pictures of the different cuts we wanted in our film. Below are the images explaining my groups scenario/ what each shot is about...
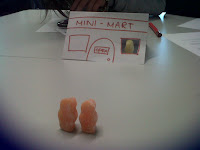 |
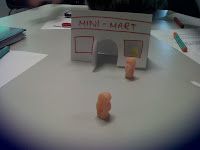
This might be our first shot; wide shot of the criminals watching the shop
|
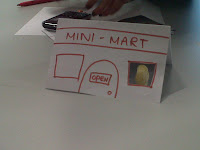 |
| (Match cut, as it links to first shot)This will be a close up of the shop so that we get the sense that the criminals are carefully observing it |
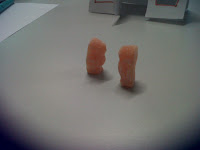 |
This will be a medium close up of them dicsussing how they will rob the shot. (There was also be a shot- reverse- shot but I cannot find the image!) |
 |
This shot shows them walking towards the shop, one infront whilst the other is a few steps behind...
They are now inside the shop.....
They are inside the shop pretending that they are buying something (as you can see we have created an ailse in the middle!) The shopkeeper is at the front behind his till...
Now tensions rises as we get an over-the-shoulder shot of the criminal looking directly at the shopkeeper
(Birds-eye-view shot) The other criminal that was previously on the other side of the aisle comes out to join the criminal at the front....
The criminal reveals his gun and points it at the shopkeeper....
The aim of this robbery is to steal money so we have done a close up shot of the shopkeeper taking out the money and placing it on the till (its the small paper with the pound sign on it)
The other criminal takes the money, (its not very clear but you may be able to see that it is in his hand) whilst criminal one still hold the gun towards the shopkeeper...
(Birds eye view shot) The criminals leave the shop....
(wide shot) They run away, however criminal 1 slows down as he still hold the gun towards the shopkeeper as a threath
(Wide shot) They both run away while the shopkeeper tries to run after them...
In the end we get a medium close up of the shopkeeper looking sad as he is unable to keep up with them. Unfortunately the criminals escape with the money... how sad :(
As you can see we have used a range of shots to create tension and to make the scenario interesting.... We will be using this storyboard when we create the real film next week (however the storyboard may differ a little to the actual shots in the film as this is just a rough plan).
After making our plan we then used the Apple Macs to edit our images into a film. We used the Program called Final Cut Pro. Below are some images I have taken of us editing our images on the program
These are all the images we took on the screen....
Below is our final edit! We have turned the images we took into a film. We added a soundtrack to it in which we downloaded from Youtube but it does not seem to be playing (there is an error). But still enjoy :)
|
...The point of this exercise is to get us practising and thinking about the different shots types that we will use in making or real thriller film. This was excerise was helpful as it allowed us to think about the different types of shots we could use to make our thriller films suspenseful and very thrilling...




No comments:
Post a Comment